On this page I provide some example applications of the UnBlur code.
As noted in the main page, the UnBlur algorithm is best suited to post spread functions (PSFs) with a small number of nonzero pixels, such as for motion blur. It usually will not do well with a dense PSF, such as that for defocus blur. However, for a small enough radius, a Magic Blur PSF is feasible.
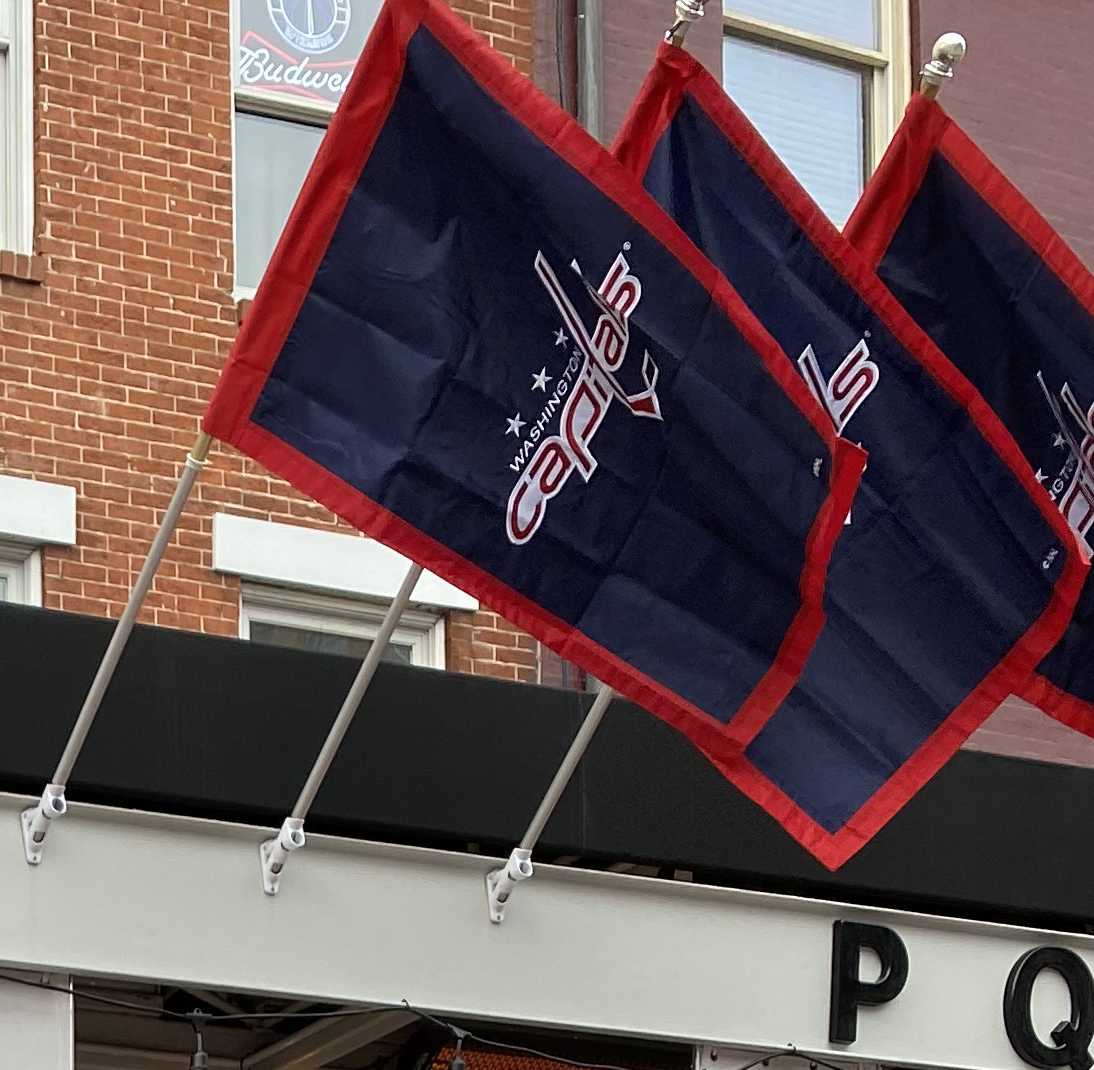
Let us start with this original, unblurred image:
Original image
We can create a Magic Blur PSF with the command
make_magic_blur caps-magic-psf.png 2
The resulting PSF image file (nearest-neighbor-upsized by a factor of 10 to make the pixels visible) is:

Magic Blur PSF
We can now blur our original image with this PSF:
blur_image_psf caps.png caps-magic-psf.png caps-magic-blurred.png
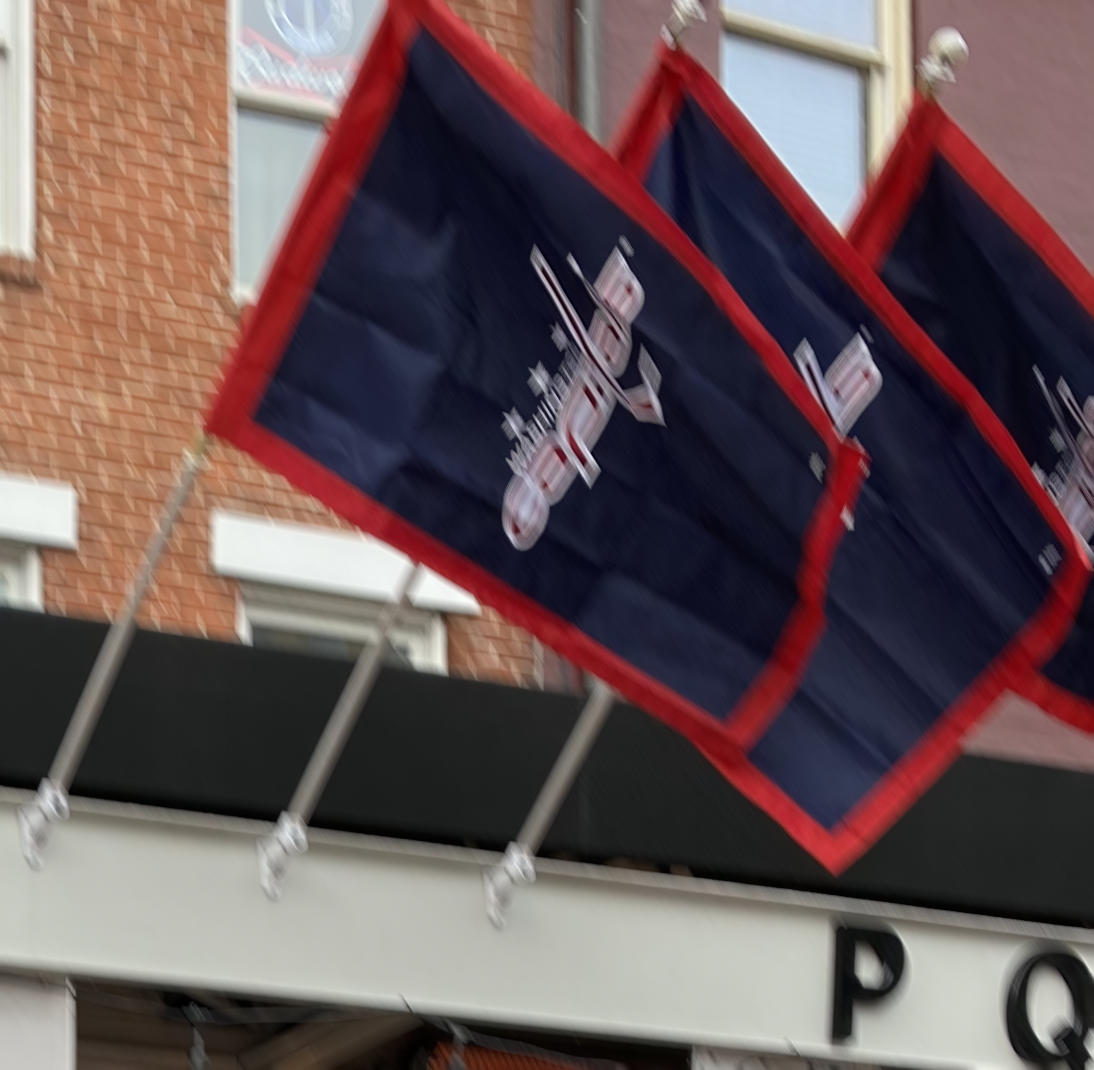
which yields a slightly blurred image:
Original image blurred with Magic Blur
We can now attempt to UnBlur this slightly-blurred image:
unblur_image caps-magic-blurred.png caps-magic-psf.png caps-magic-unblurred.png -t0.5
The last option here specifies that we are setting a threshold mean absolute error (MAE) of half an intensity unit (rather than the default of one unit), for reasons that will become clear shortly.
Executing that command, you will notice a number of things.
Firstly, the MAE tolerance is expressed as a percentage (0.196078%), since the UnBlur library code can run on general floating point images, unrelated to the 0–255 intensity values of this PNG file. (As with all of my code, the image processing steps are run in linear intensity space, rather than the gamma-encoded space of stored images, but for simplicity the MAE tolerance is simply converted by dividing by 255.)
Secondly, you will see that the input file has an MAE of 0.54%, whereas the initial estimate has a larger MAE of 0.71%. This is common for dense PSFs like the one used here, and shows that the back-propagation doesn’t actually provide a better estimate than the input image itself. In such situations, the code rerverts to using the input image as the initial estimate.
Thirdly, you can see that the MAE decreases significantly in the next few iterations. After the fourth iteration, it is down to 0.227%. However, after the fifth iteration it has increased back up to 0.229%. Recognizing that the algorithm has reached the limit of its usefulness, at least on this measure, it aborts and reverts to the previous estimate.
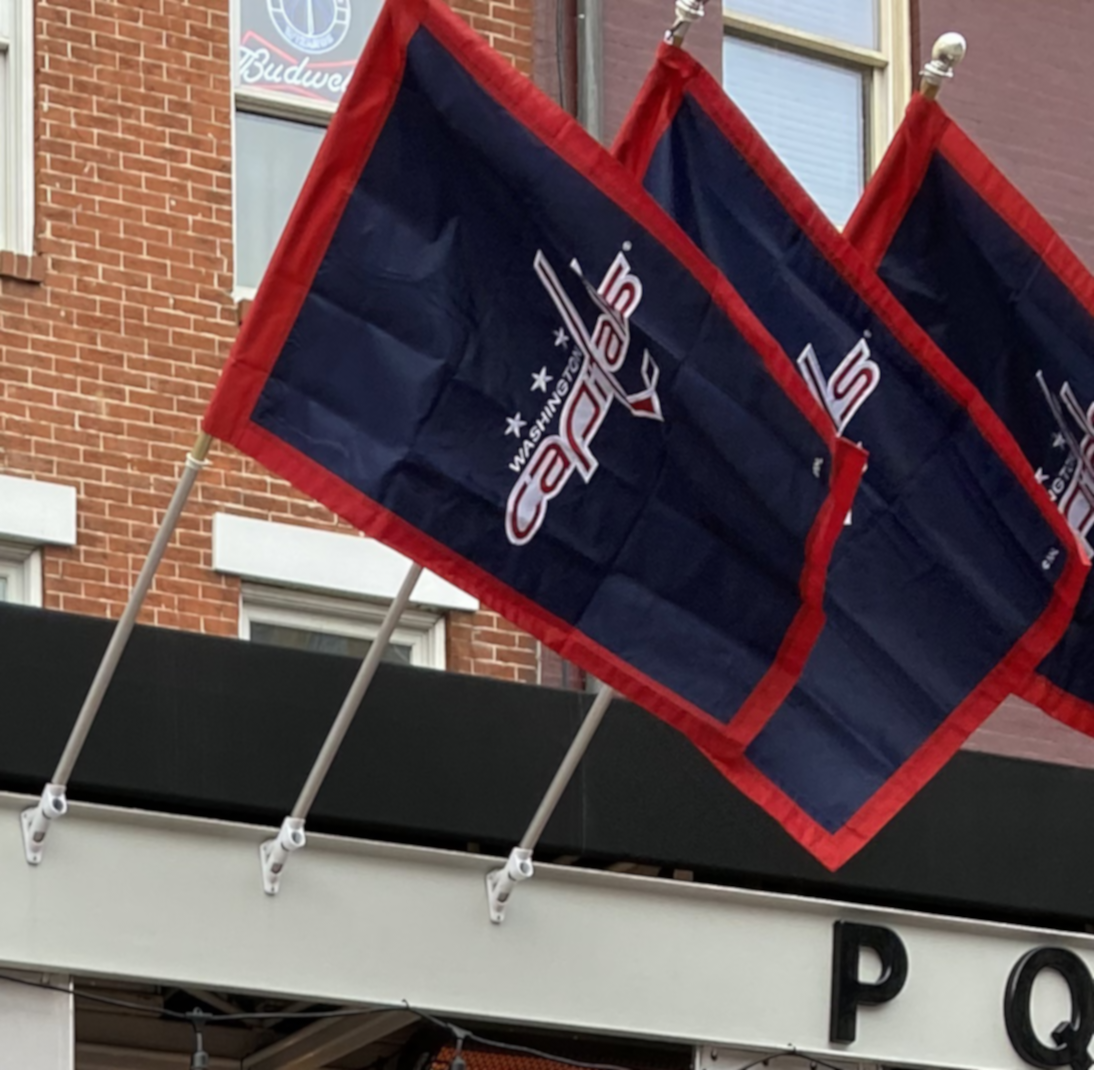
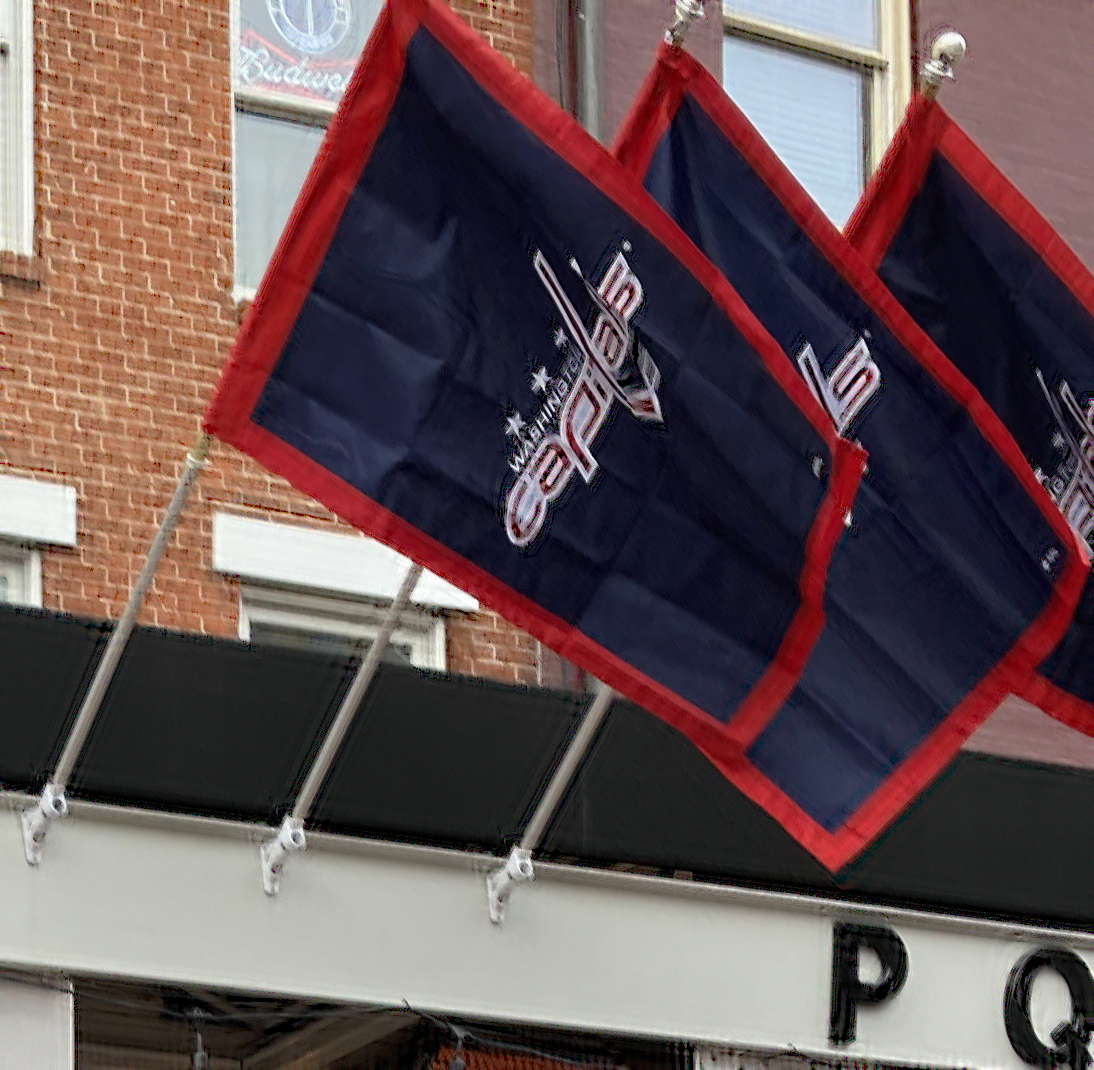
The final estimate, then, is the following:

UnBlurred Magic-Blurred image
If you flip back and forth between the blurred and unblurred images, you can see that the unblurred version is sharper:
Magic-Blurred v UnBlurred Magic-Blurred
Comparing to the original image, however, it is clear that the deblurring is not perfect:
Original v UnBlurred Magic-Blurred
Is this better than what you could get with a general sharpening algorithm? Probably not. But it is useful to see that the UnBlur algorithm can handle a dense PSF, at least up to a couple of dozen nonzero elements.
Using the same test image as above, let us create a linear blur PSF:
make_linear_blur caps-linear-psf.png 10 15 -b
The final arguments here are the width (5 pixels) and height (10 pixels) of the linear blur, and -b specifies that the blur should look like a backslash (\) rather than a slash (/).
The resulting PSF image file (again, nearest-neighbor-upsized by a factor of 10 to make the pixels visible) is:

Linear blur PSF
We now blur our original image with this PSF:
blur_image_psf caps.png caps-linear-psf.png caps-linear-blurred.png
which yields a significantly motion-blurred image:
Linear-blurred image
We can now attempt to UnBlur this blurred image:
unblur_image caps-linear-blurred.png caps-linear-psf.png caps-linear-unblurred.png -t0.5 -i50
The last option here specifies a maximum of 50 iterations; we get a good result with fewer, but this squeezes out slightly better results. On execution, you will now note that the MAE of the initial estimate (0.70%) is superior to that of the input image (0.94%); it quickly drops to 0.3%, and then drops more slowly. After 50 iterations it is down to 0.195%. The final estimate is:
UnBlurred Linear-blurred image
Flipping back and forth between the blurred and UnBlurred images shows the significant improvement:
Linear-blurred v UnBlurred Linear-blurred
Comparing to the original image, however, it is again clear that the deblurring is not perfect:
Original v UnBlurred Linear-blurred
The “halos” of edges are a common feature of deblurring. Despite our not using Fourier space, they are of the same ilk as Gibbs ringing; here, they arise through the iteration process. They fundamentally occur because some (not all) parts of the image do not have enough unambiguous information in them for us to infer where the blurred edges should be moved to, and correspond to the problem of dividing by the zeros of the Fourier transform’s PSF in Fourier space.
One of the most famous photographs in the world is Frame 313 of the Zapruder film:
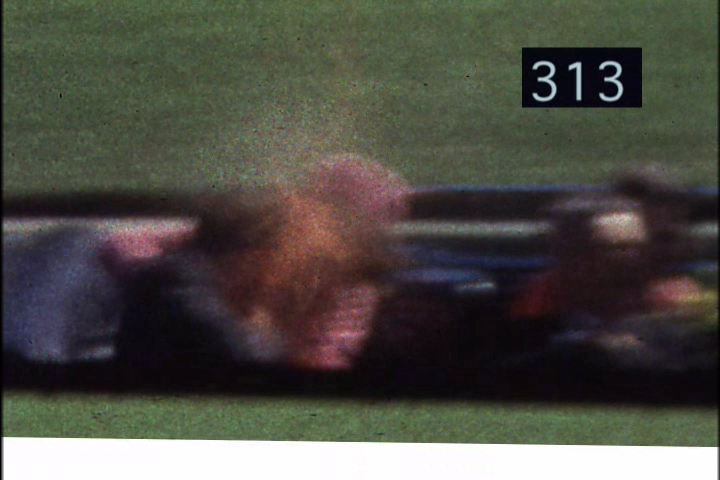
Best public version of the center of Frame 313
This version of it is the highest resolution version supplied on the reference public copy of the film, as specified by the Kennedy Assassination Records Collection Act of 1992, and published on DVD by MPI Home Video on July 28, 1998, Image of an Assassination — A New Look at the Zapruder Film. The rectangular black box with frame number was of course added by MPI. The black left and right edges are artifacts of the DVD mastering process. The sloping boundary between black and green at the bottom of the image is actually the next frame of the film, Frame 314, as scanned on the continuous six-foot strip of celluloid in the National Archives; the black sloping bar there is the divider between frames, as created by the frame mask in the camera. Finally, the sloping boundary between green and white below the black bar represents MPI’s cropping of the original image (filled with white background), which becomes sloped after they rotated the frames to help visually stabilize them.
Note that Frame 313 is motion-blurred. This is more obvious if we compare to the previous frame of the film, Frame 312, depicting the same scene just 55 milliseconds earlier, and in which the limo and its occupants, amazingly fortuitously, are not motion-blurred at all:
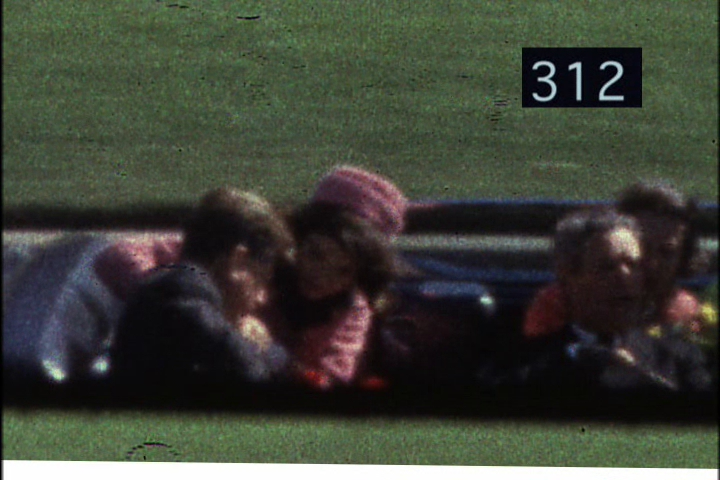
Best public version of the center of Frame 312
Note the black marks at various places in this frame: these represent residual damage to the original strip of celluloid, primarily by mold, that still remained after it was cleaned at the Archives for this scanning just prior to 1998.
Comparing these two frames suggests a blur PSF that is a straight line (sloping slightly upwards to the right), but not uniform in intensity (the right half of the blur is clearly of higher intensity than the left). Careful analysis suggests a blur PSF as follows (again, nearest-neighbor-upsized by a factor of 10 to make the pixels visible):

Deduced motion blur PSF of Frame 313
One way to check this is to blur Frame 312 with this PSF, and compare the result with what we see in Frame 313. Before doing that, we need to slightly rotate Frame 312 as supplied by MPI, by half a degree counterclockwise:
Frame 312 rotated half a degree counterclockwise, to match the alignment of Frame 313
Blurring this with the above PSF yields

Rotated Frame 312 blurred with the deduced blur PSF of Frame 313
Clearly, the blurring of the black rectangle with frame number, the left and right edges, and the bottom angled edges have nothing to do with the original frames. Cropping this image and Frame 313 to overlay them yields the following:

Rotated Frame 312 blurred with the deduced blur PSF of Frame 313, and cropped to remove extraneous artifacts

Frame 313, equivalently cropped
Flipping between the frames shows that the blurring is probably as close as we can get it:
Frame 313 v Frame 312 blurred by the deduced blur PSF of Frame 313
Note that there is film grain visible in each original frame, but of course our digital blurring of Frame 312 smooths that out; i.e., in Frame 313 the blurring happens optically, before the blurred image is captured in the film grain, whereas in Frame 312 the unblurred image was captured in the film grain, which we have now digitally blurred.
Having confirmed that the PSF above is a good approximation to the motion blurring in Frame 313, we can now attempt to deblur Frame 313 using UnBlur. In this case, six iterations is a reasonable balance between reducing residual motion blur and amplifying the noise inherent in the film grain:

UnBlurred Frame 313, with no initial approximation
Note that the quality of the deblurring on the left and right edges is lower due to edge effects (extension boundary conditions are applied). Flipping between this and the cropped version of the original rotated Frame 312 shows a reasonable result:
UnBlurred Frame 313, with no initial approximation, v Frame 312
The good alignment here suggests that we should be able to fruitfully use Frame 312 as an initial approximation to the deblurred Frame 313. Doing this, with ten iterations, yields
UnBlurred Frame 313, using Frame 312 as an initial approximation
Note that Frame 312 is a bad initial approximation at the front of the president’s head, and his right ear is also largely retained in its initial position, as being consistent with the blurred image. None of this detail should be taken to be a good representation of the actual scene at Frame 313; it is due to dropping in Frame 312 as a first approximation. However, the rest of the image gives a good idea about how much of Frame 313 is consistent with Frame 312. Flipping between this image and Frame 312 itself gives us a good indication of that:
UnBlurred Frame 313, using Frame 312 as an initial approximation, v Frame 312
© 2021–2024 John Costella